Entity Forms
Entity forms are powerful tools that enable users to define an entity form with custom logic within the CRM. These forms can be rendered onto your web pages allowing your end users to submit the form and for you to collect the data. Entity forms are commonly used for contact forms for lead generation, surveys, user registration and more.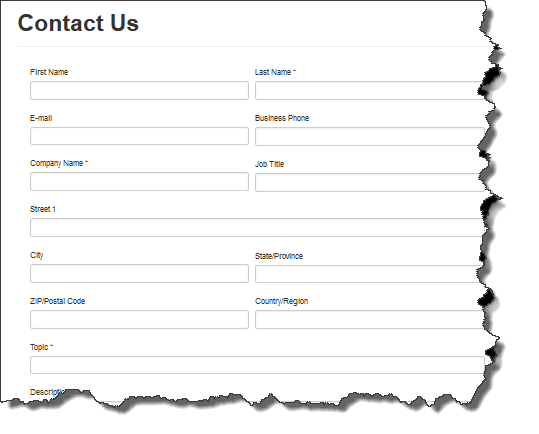 You can create a new entity form for your Dynamics 365 Portal by navigating to Portals > Entity Forms in your CRM and clicking ‘New‘ at on the secondary toolbar. Next, you will need to fill in the appropriate fields such as name, entity selection and website. You will also be able to add further customisation such as including an anti-spam Captcha, success messages, file attachments and Geolocation settings.
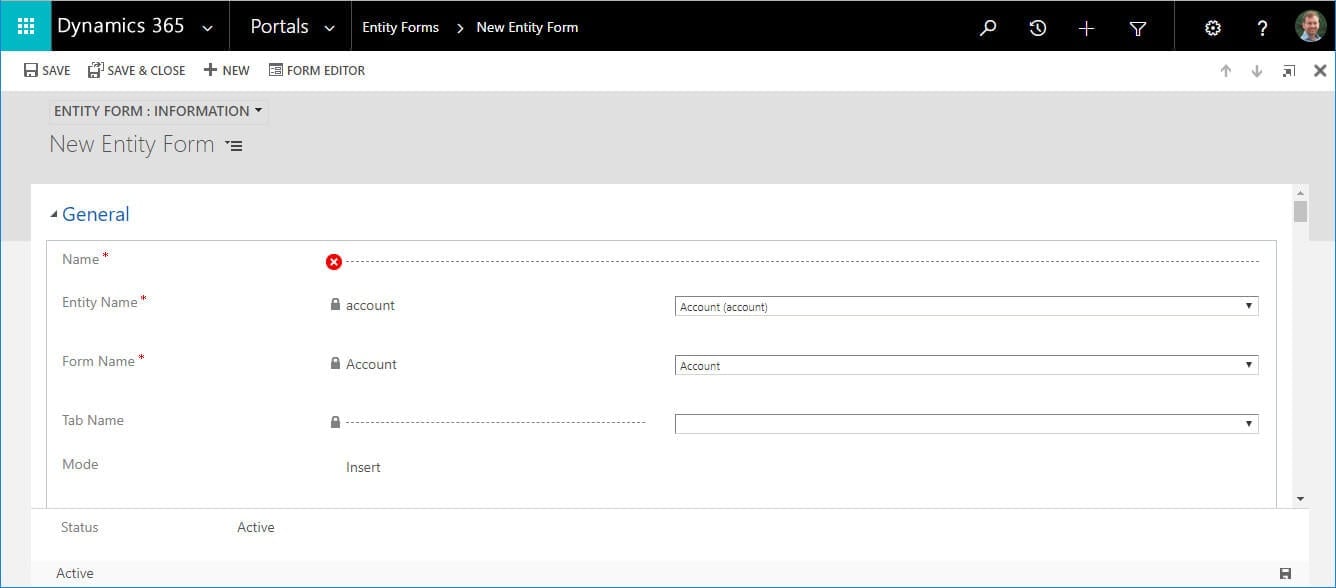
Web Forms
Web forms are capable of performing all of the same tasks that an entity form can do, but they additionally have options add multi-step navigation and branching logic. This allows you to have a web form that supports multiple entity forms as individual steps within an individual web form.Adding a web form or entity form to a page
These forms can be added quickly in two easy steps. Simply navigate to your chosen web page and click on the ‘Edit’ button on the right-hand side of your screen that sits within the small toolbar. Next, you will see options for both web and entity forms. Click inside the field box and select the form you created in CRM to be used. You can only have one entity form and one web form included in a single web page by default, although this should be enough in 99% of cases. Once you have selected your form, click ‘Save‘ on the bottom right of your screen and reload the page. You should see your chosen form displayed.
Daniel Norris
Communications Manager
Daniel Norris is the communications manager for The Portal Company. His role is to bring you the latest updates, tips, news and guides on Dynamics 365 Portal. If you have any questions, please get in touch with us.